


The TestClient application can be used to check if an OPC V3 server can be accessed and to read/write item values to help in a client application development process.
 |
Usage:
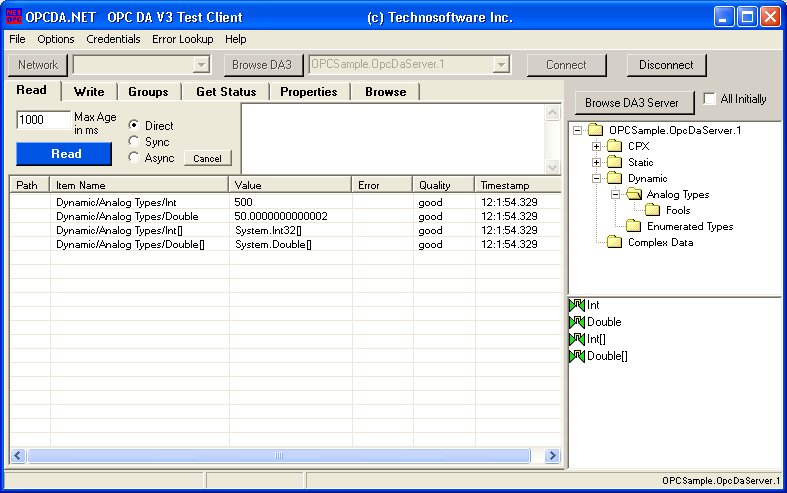
At startup the local OPC DA V3 servers are browsed and displayed in the selection combo box.
To browse remote OPC server click Network and select the computer or type the computer node name, then click Browse DA3.
Click Connect to connect to the server and enable the server access features. Click Browse Items to browse and display the content of the server's root directory. Check All Initially to have the full tree structure browsed. This can take a long time and should be used in special cases only.
For servers that require to accessed under a specific user, click Credentials in the top menu and define user/password/domain, before clicking Connect.
In case of access permission problems to local servers, try specifying the name of the local computer in the Computer combo box. This forces the OPCDA.NET wrapper to use a different connect mechanism.
Read, Write, Groups, Properties access require item names to be defined. The easiest way to define the item names is to select the directory in the browse tree (right column). Right click the directory node to select all items in the selected branch or select one or more items and right click the item selection. In the displayed menu select the target list. The selected items are copied or added to the selected list.